
Nothing is better than pizza in my opinion. Since going gluten free many years ago, pizza was for the longest time my go to cheat meal. I’ve gone through many phases of gluten free from trying Paleo for health reasons, to having a roommate that was celiac, to finally noticing gluten upset my stomach and made me bloated, to trying to be gluten free “most of the time”, to now being 99% gluten free.
Why 99%? Well, because thankfully I am not celiac so I don’t fret over a tablespoon of soy sauce at a friends house for dinner, or when I try a tiny bite of my husbands gnocchi when out to eat every once in a blue moon. But unlike before, I really try not to cheat and the thing is, when you go so long with out having the gluten stuff, the gluten free stuff taste amazing. I love a good piece of gluten free toast with butter or gluten free cookies or gluten free pasta and meat sauce.
For pizza, we normally resort the the frozen aisle but I recently found a great option for making it at home with out having to go through the sticky mess of a dough crust or the 27 steps of cauliflower pizza. I found this original recipe here and have adapted it my self and found a few tips to really crank it up a notch! Its a delicious thinner crusted pizza full of flavor.
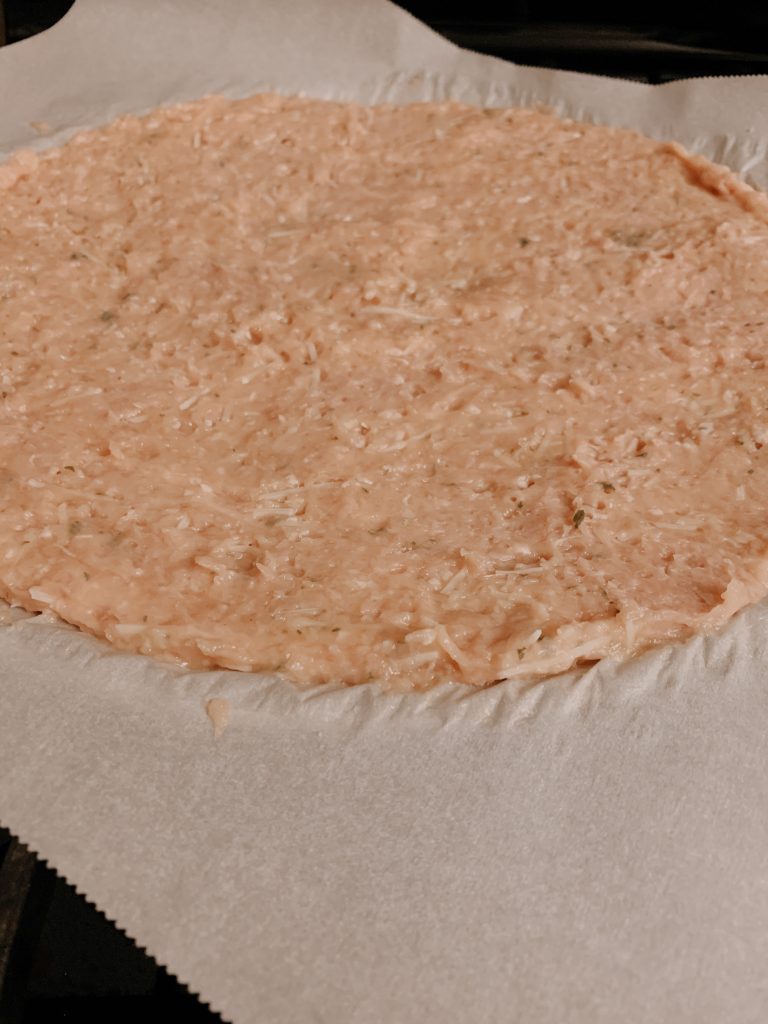
First we start with the dough:
The dough base is ground chicken, which yes I know sounds quite bizarre but it really has fooled many gluten eating friends.
Another important tip to remember when going through the recipe is to get the chicken pound as thin as you can. This crust is going to be best nicely browned and slightly dried out…similar to how bread is dry. Using parchment paper is essential under the pizza and using a piece on top to roll it out really stops this from being a sticky and messy situation.
The cooking time and cooling time of the crust before you add the toppings is really important and not a step to rush. In fact you could likely make the crust earlier in the day or the day before and keep it in the fridge until ready. When baking, you want to make sure you achieve some color. Keep it in if you still see a white boiled chicken look. A slightly overdone outer crust edge is better than a floppy white pizza. Cooling it allows the cheese in the mixture to harden and allows the crust not to go soggy when adding your sauce.
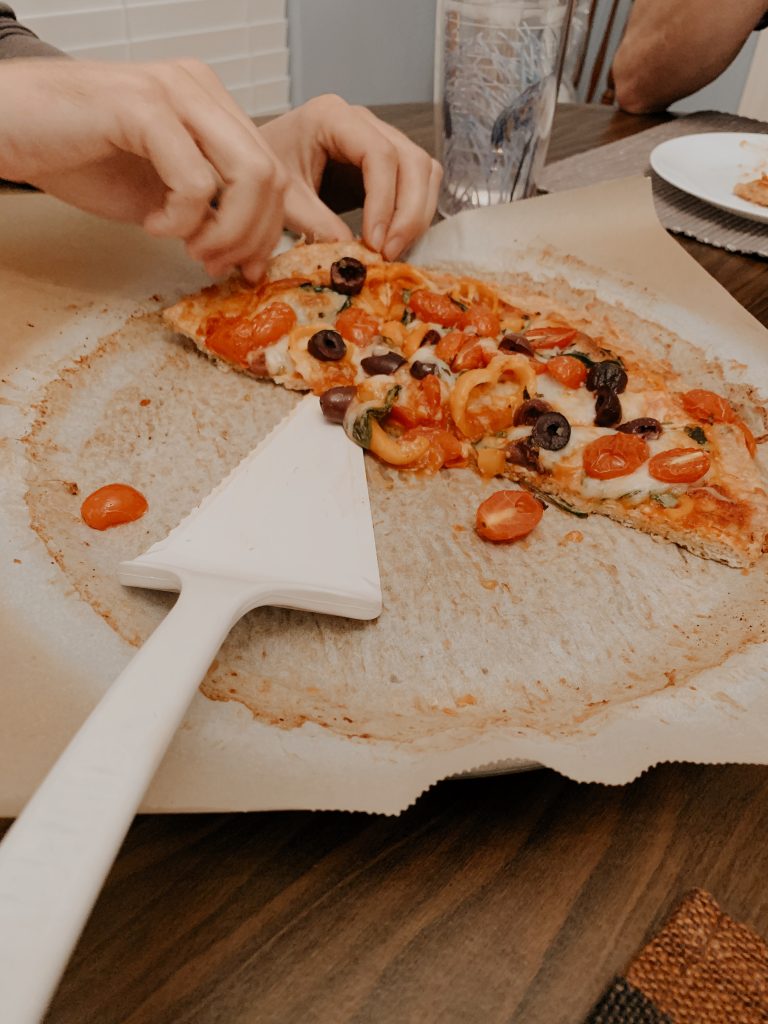
Once your crust has cooled, you are ready for the toppings. I don’t suggest just going for plain cheese on this one although I love a basic pizza. The more toppings, the better!
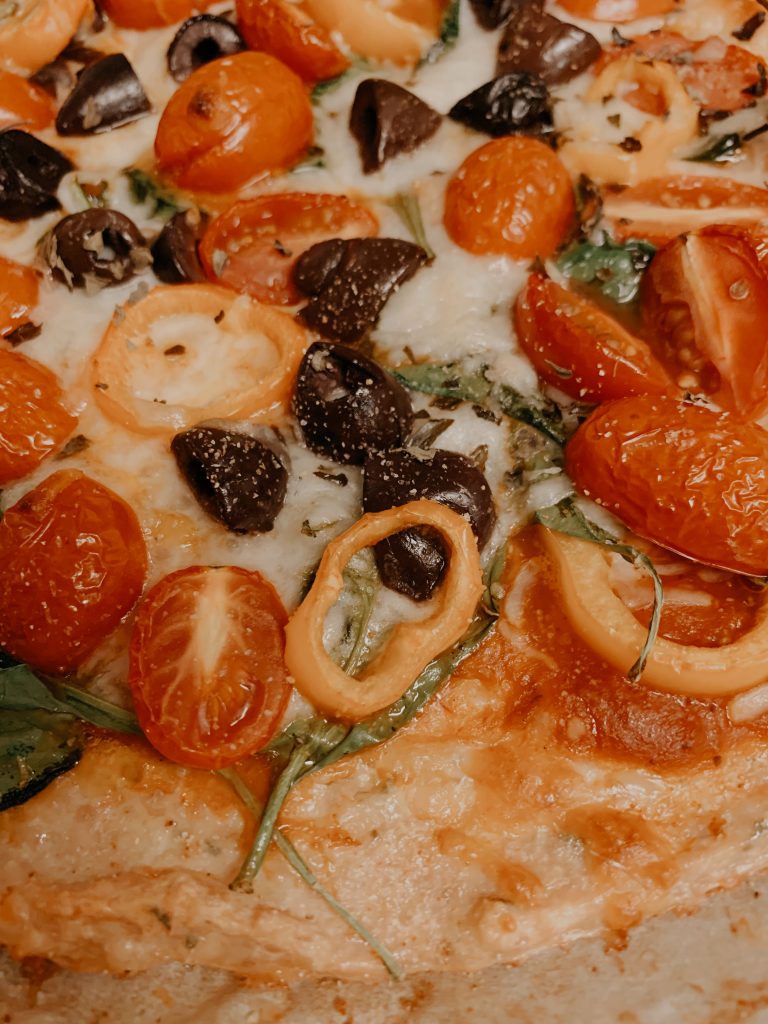
Here I loaded it up with tomatoes, sliced mini sweet peppers, kalamata olives, fresh spinach and basil. I also used a cheese blend of mozzarella and parmesan and asiago cheese and used a flavored sauce. I do like to make my own, but in a pinch I prefer a spaghetti sauce over a jar of pizza sauce. Far less sugar and normally flavored with garlic and spices. Top it off with an extra sprinkle of basil, oregano, garlic powder and salt!
I have also done a meat lovers pizza with pepperoni, salami, and bacon which was very delicious. Try what ever you have on hand and get creative!
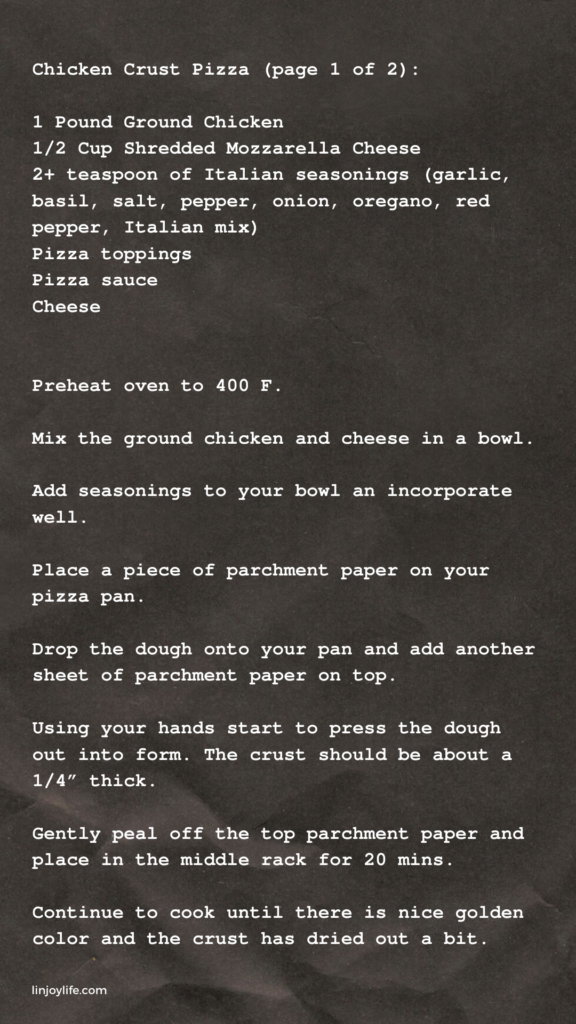
Chicken Crust Pizza:

1 Pound Ground Chicken
1/2 Cup Shredded Mozzarella Cheese
2+ teaspoon of Italian seasonings (garlic, basil, salt, pepper, onion, oregano, red pepper, Italian mix)
Pizza toppings
Pizza sauce (homemade or spaghetti sauce, which is what I prefer over pizza sauce)
Cheese (shredded mozzarella, feta, fresh mozzarella, ricotta, goat cheese, parmesan)
Mix the ground chicken and cheese in a bowl. Add seasonings to your bowl an incorporate well.
Make sure there is plenty of salt and oregano and garlic in your mix for a delicious crust.
Place a piece of parchment paper on your pan (I like to use a circular pizza pan with holes in the bottom but you can use what ever you like or even try a baking sheet.)
Drop the dough onto your pan and add another sheet of parchment paper on top.
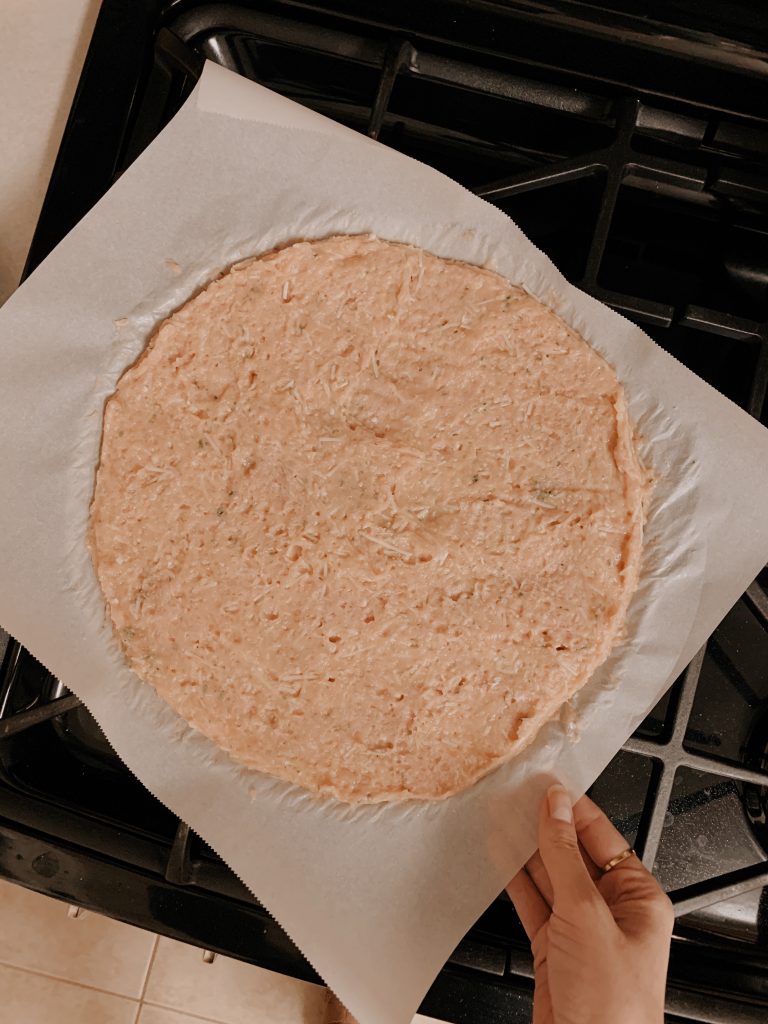
Using your hands start to press the dough out into form. You can also use a rolling pin if you like.
Getting the crust as thin and even as you can is very important. Make sure your pan is big enough to get a thin crust. The crust should be about a 1/4” thick. Any thinner and you might see holes, much thicker and the crust won’t crisp up well.
Gently peal off the top parchment paper and place in the middle rack for 20 mins.
Your crust should take longer than 20 minutes but I started checking and keeping an eye on it at the 20 minute mark. I normally kept it in there for roughly 30 or even 35 minutes long. You can mark the time for your oven for future reference. The key is to get a nice golden color and for the crust to dry out a bit. The crust will shrink up in size and pull away from the edges about a 1/2 to an inch all around.
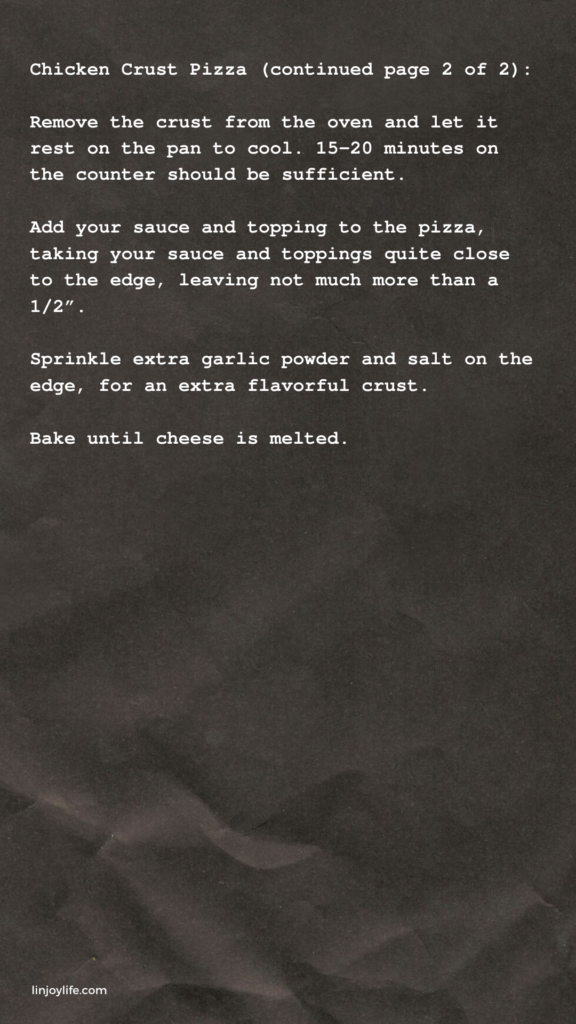
Remove the crust from the oven and rest leave on the pan to cool. If you have room in your fridge you can place it in the fridge to speed up the cooling. 15-20 minutes on the counter should be sufficient.
You can now add your sauce and topping to the pizza. Unlike a normal crust, take your sauce and toppings quite close to the edge, leaving not much more than a 1/2”. Sprinkle extra garlic powder and salt on the edge, for an extra flavorful crust.
Bake until cheese is melted.
Cut pizza with a knife or pizza cutter and enjoy!
Chicken Crust Pizza